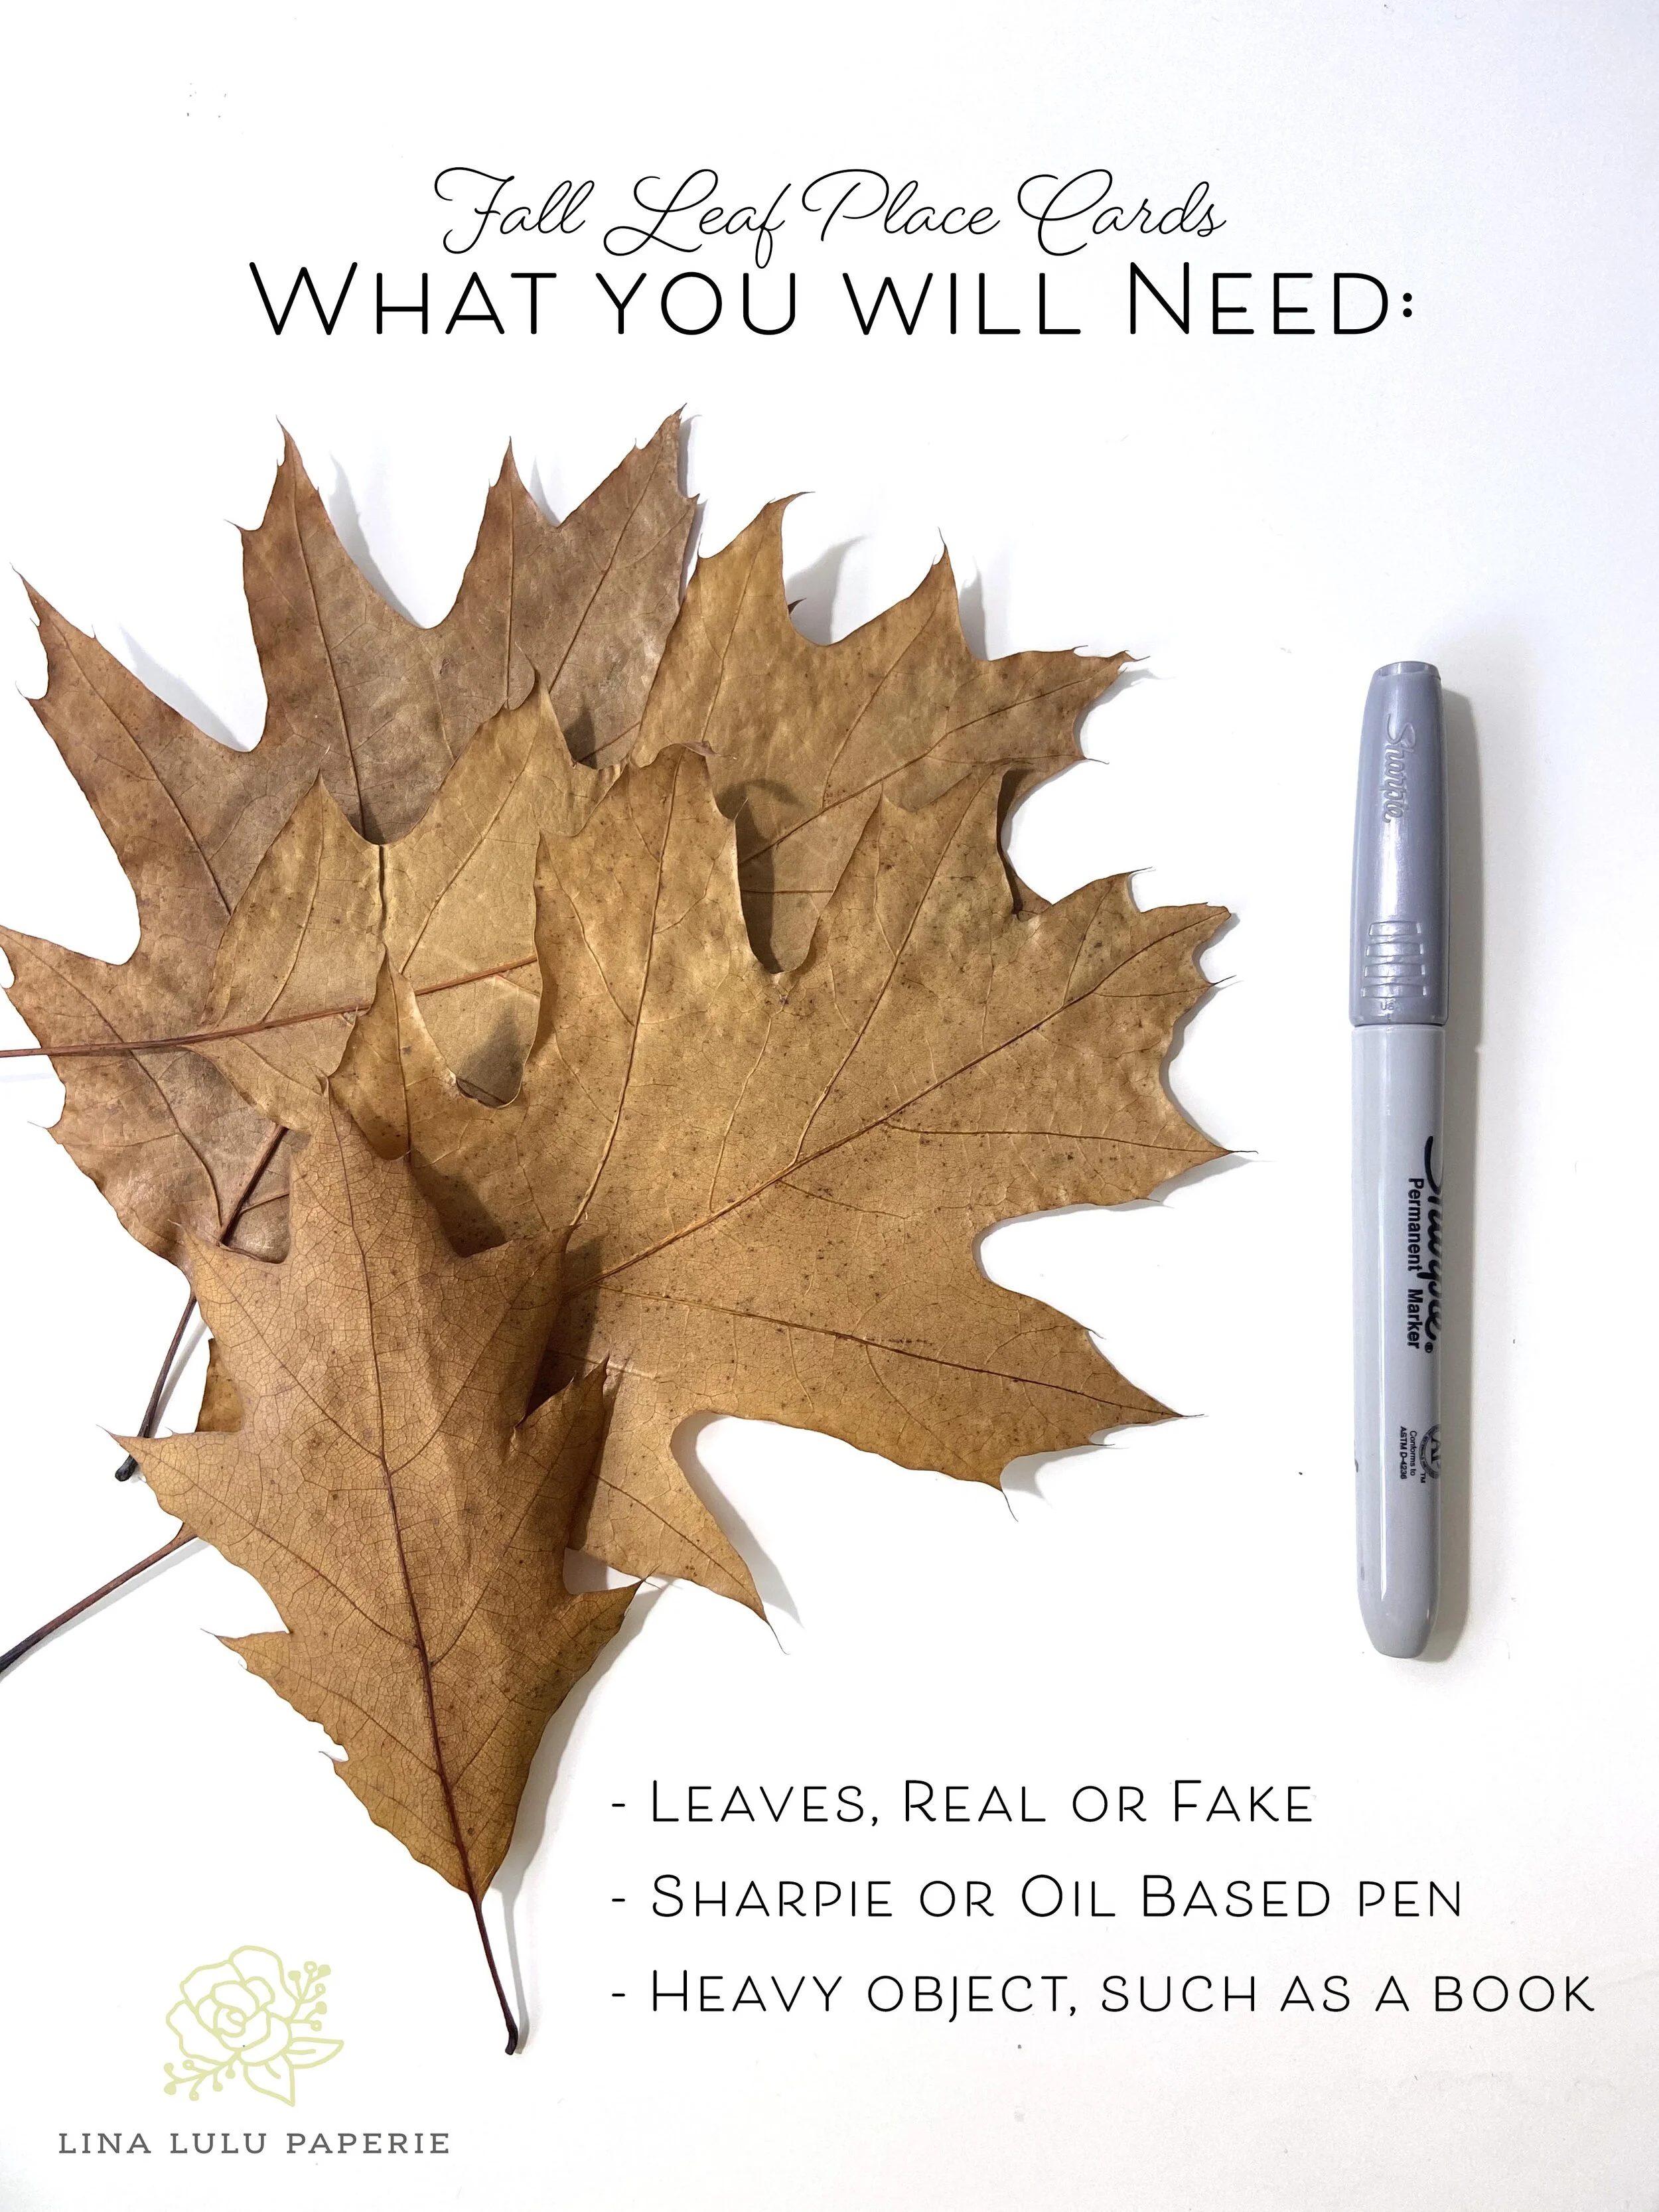
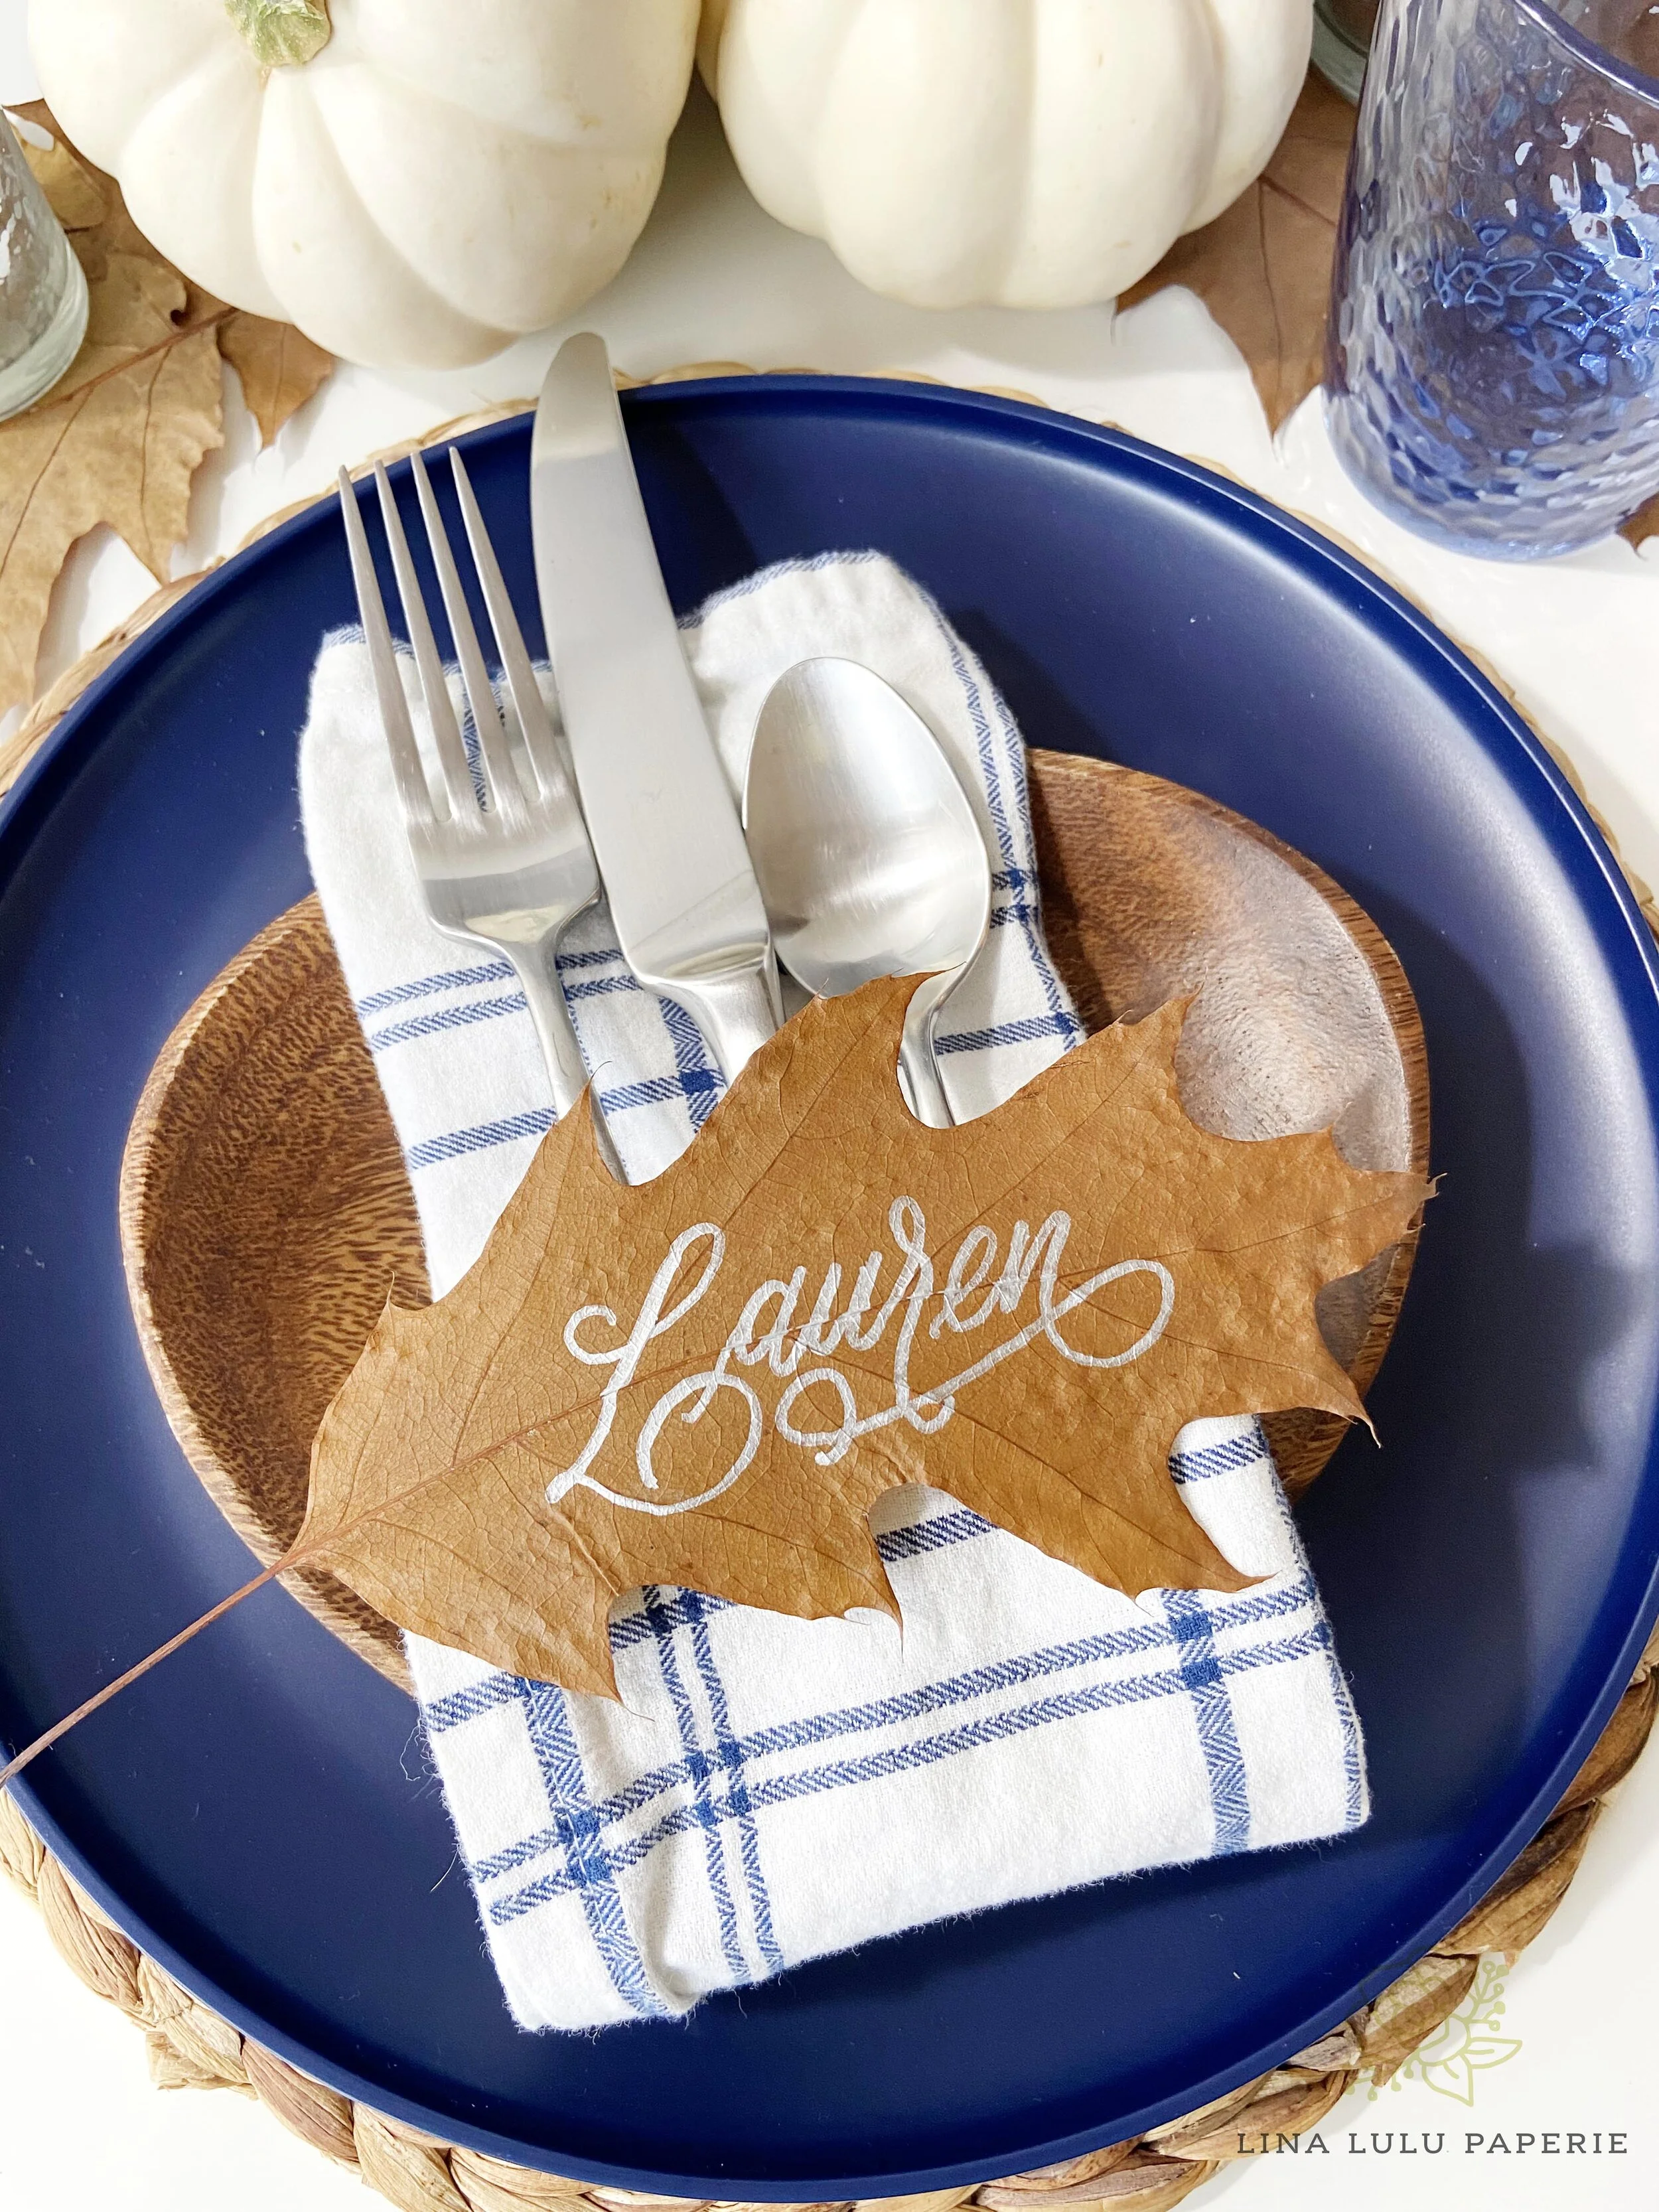
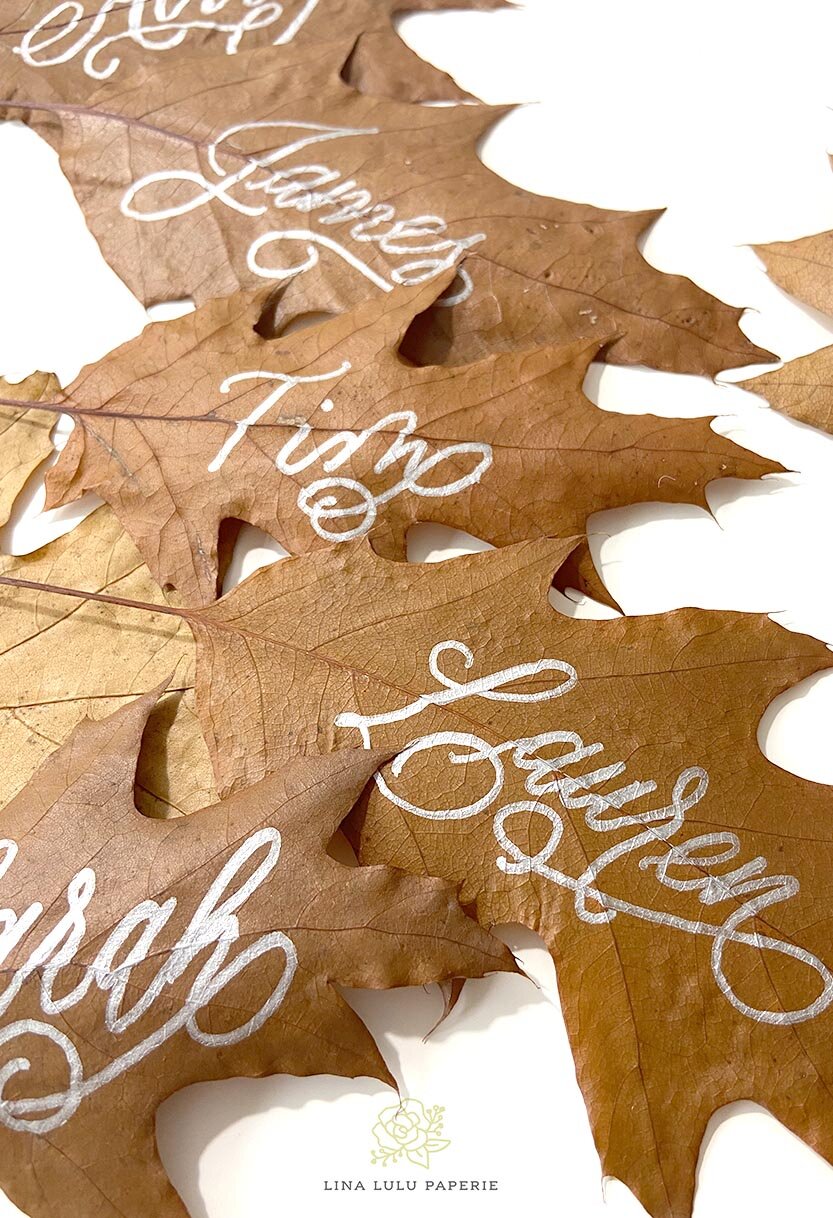
STEP 01: Prepare and Gather Your Leaves
First, decide if you will collect leaves from your yard or purchase the leaves from your local craft store. When choosing leaves, consider not only the color that will go best with your decor but also the size that will fit your guest with the longest name.
If you are using real leaves:
- I suggest collecting your leaves 2-3 days* ahead of your event. Collect a few more than you think you will need in case of additional guests, items, or a mistake is made.
- Grab a paper towel and a few heavy books. Slip the leaves in-between the paper towels. Place them flat, either in between the pages or between two books then add additional weight on top.
- Allow them to flatten out under the weight for 1-2 days.
* You can collect and write on the leaves day-of, but to ensure a flat, dry writing surface follow instructions above.
If you are using fake/purchased leaves:
- Lightly clean your leaves to make sure no extra bumps or dust are on the surface.
-If your purchased leaves are not truly flat, using a clothing iron, slip the leaf between a pillowcase or fabric. On a low heat flatten out leaf until desired. Be careful not to melt your leaf.
STEP 02: Prepare Your Spacing
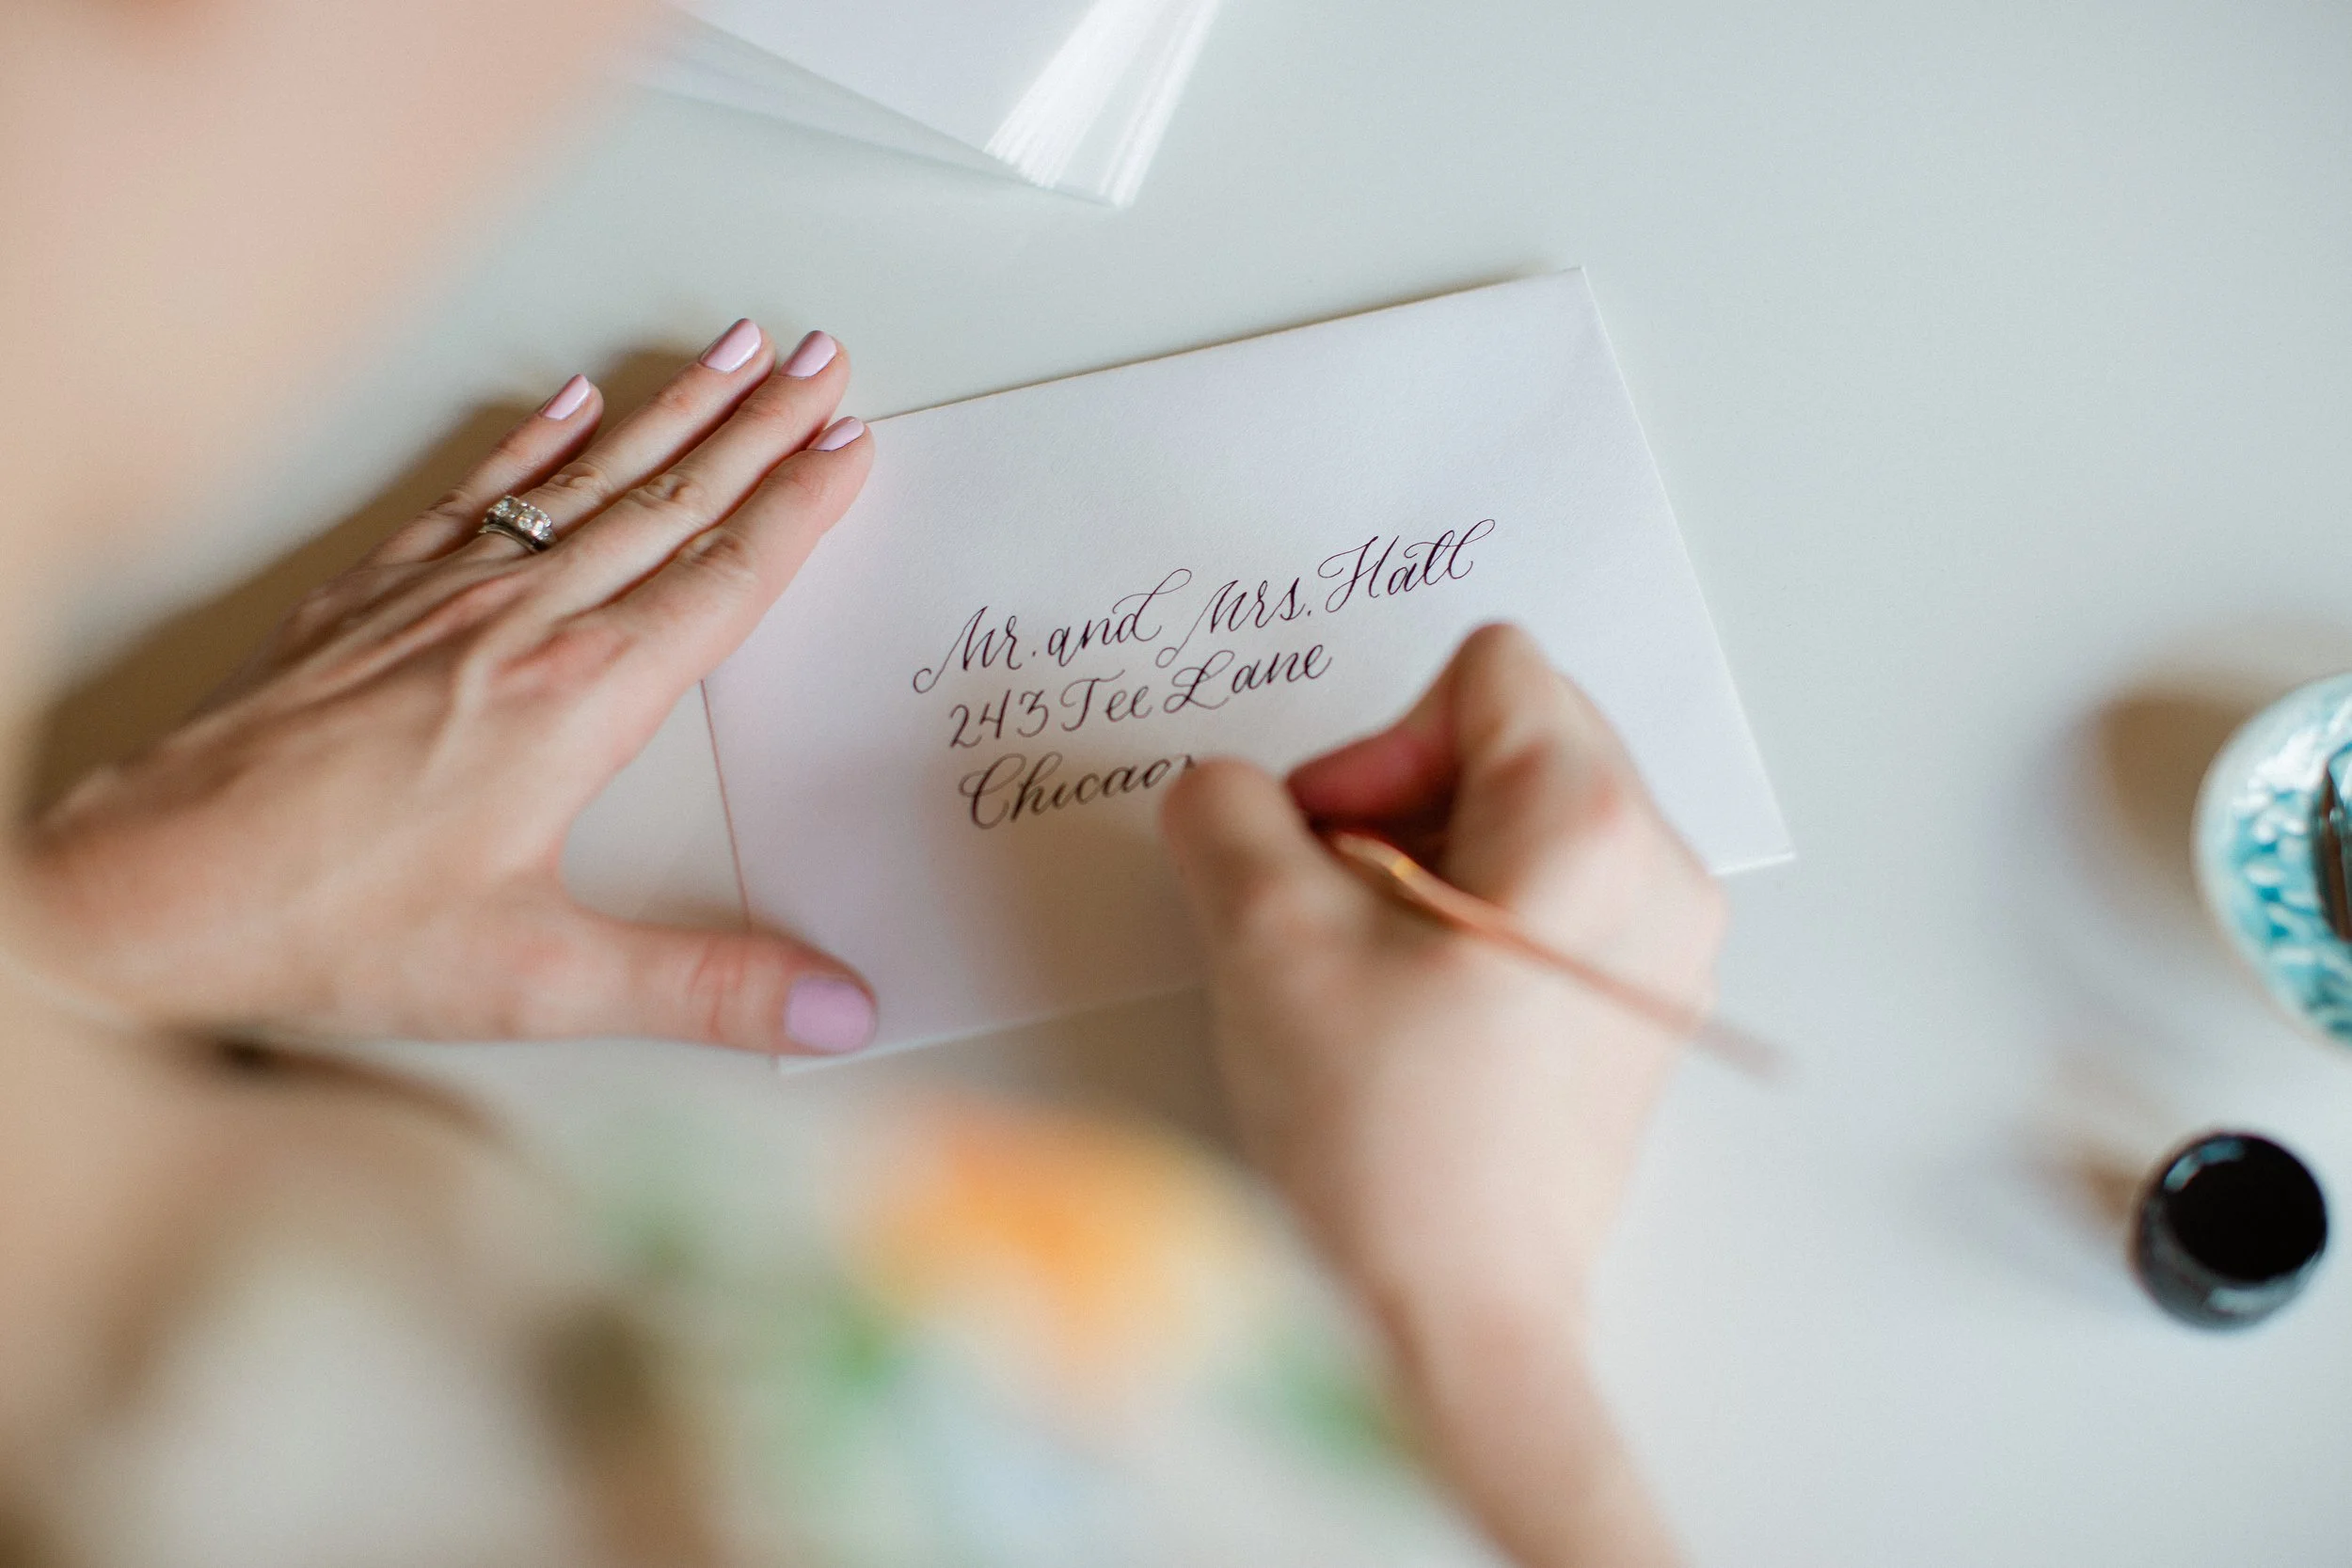
If you are not familiar with writing in calligraphy or hand lettering grab an extra leaf, and use it as your practice piece. Using a pencil first to lightly write your names out will also help you space everything out.
If you are needing more practice with your letters, download a lettering guide here from Sip and Script or take a class with me to learn more about calligraphy!
If you feel more confident, using a pencil gently mark a small vertical line for the start of your name and one for the end of your name, leaving a finger-tip amount of space on each end. This will give you a more uniform look for your place cards.
